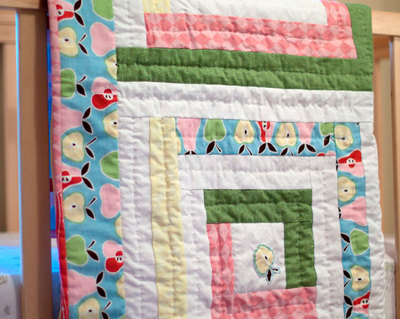
Pretty Pastels Log Cabin Baby Quilt
Your little one's nursery will be so peaceful and relaxing with the inclusion of the soft colors within the Pretty Pastels Log Cabin Baby Quilt. Easy baby quilt patterns like this are a treat for quilters of all skill levels; it's easy to make, looks beautiful with a number of different fabrics, and shouldn't take you particularly long to make. Share your love of classic log cabin quilt patterns by making a special one for a new little bundle of joy; it'll make the perfect handmade gift too! This free quilt pattern for babies can easily be customized for any little one you have in mind. Make it in pink for a little princess, blue for a brand new boy, or go neutral if the bundle of joy will be a surprise.
Find more log cabin quilting patterns in our colleciton of 29 Free Log Cabin Quilt Patterns.
Tools Used:
- Cutting Mat (18" x 24")
- Coastal Colors Acrylic Ruler (6" x 24")
- Comfort Loop Rotary Cutter (45mm)
- Titanium Softgrip® Comfort Loop Rotary Cutter (45 mm)
- Micro-Tip® Scissors (No. 5)
- Razor-edge Softgrip® Scissors (8")
- Softgrip® Pinking Shears (8")
Instructions:
1) The first step is to select your fabrics. There is such a wide variety of fabric choices these days, it is very easy to get overwhelmed by the selection. For this quilt, I used my apple and pear printed fabric as a starting point. I then pulled colors from it’s pattern to make my other fabric choices. For my strips I chose simple, small, monochromatic prints in soft pastel colors.

2) To begin, align your fabric to the grid on the self healing cutting mat. I had four layers of folded fabric and used a 45mm Rotary cutter loop handle to first trim off the uneven edge.
3) Now we are going to make four Log cabin blocks- each measuring 20 by 20 inches.

The center square of each block measures 4inches + ? inch seam allowance= 4.5 inches

Each of the strips measure 2 inches + ? inch seam allowance= 2.5 inch.
Here, I folded the fabric four times, and used the Titanium Softgrip® Comfort Loop Rotary Cutter (45 mm). It is very easy to cut a stack of fabric using the titanium rotary cutters and for the white fabric you will be needing a lot of such strips.
For one 20 inch by 20 inch block you will need the following:

One 4.5 by 4.5 inch square in white fabric
One 2.5 by 4.5 inch strip each from pink and green fabrics.
One 2.5 by 8.5 inch strip each from pink and green fabrics.
One 2.5 by 12.5 inch strip each from yellow and apple patterned fabrics.
One 2.5 by 16.5 inch strip each from yellow and apple patterned fabrics.
Two 2.5 by 8.5 inch strips, two 2.5 by 12.5 inch strips, two 2.5 inch by 16.5 inch strips, two 2.5 by 20.5 inch strips from white fabric.
You will need to make 4 such blocks. I chose to make my blocks asymmetrical, but you can make things simpler by making four identical blocks instead.
At this point you can arrange the strips and see if you like how your fabric colors look against each other. I rearranged them a bit and was ready to start sewing the quilt front.
4) Each block is started at the center with a 4.5 by 4.5 inch white square. You then stitch the pink and green strips (which measure 2.5 by 4.5 inches) to this base square with their right side down.

5) Press the seams open with your finger (A bone folder works beautifully here!) and then you are ready to add the longer strips on either side (the pink and green strips that measure 2.5 by 8.5 inches).

6) You add the strips in a similar fashion, alternating with white and colored fabrics till you reach a 20 by 20 inch square.
7) Make four such blocks.

8) Lay these blocks on a flat surface and arrange them till you achieve a pleasing pattern. Here is how my asymmetric blocks looked,

9) I then joined two of the blocks, with right sides facing each other. Repeated this with the remaining two blocks. Press the seams open and then stitch these two together, with right sides facing each other.
10) Now to add a border, Measure and cut two border strips to measure 4.5 by 40.5 inches and stitch them to the top and bottom of the quilt front. Press seams open. The quilt front is now all done.
11) Now we are ready to assemble the quilt. First the backing fabric goes down, with the right side down. My backing fabric measured about 45 by 55 inches, just to allow extra fabric on either side for the quilting process.
12) Add the batting layer now. Here I have used an 100% organic cotton batting. On top of this, the quilt front goes down, with the right side facing up.

13) Smooth out all the wrinkles and baste the layer from the centre towards the outer edge. Make sure that the backing fabric is in place, and is entirely covered by the quilt front.
For my quilt I did a combination of hand quilting and machine quilting (The 100% cotton batting accommodates both hand and machine quilting and was thus a perfect choice here).
14) I started with the machine quilting by “stitching in the ditch” – that is I stitched along the seams of each of the strips.

15) Next I did the hand quilting and stitched in the middle of each of my strips. I also added an appliqué onto the center white square.
16) Trim the excess batting and backing fabric with a sharp pair of scissors. The Razor-edge Softgrip scissors works great here.

17) Now lets move onto the binding. I used leftover strips that I cut for the quilt front (you will have plenty of these) and joined these to form my binding strip.
18) Lay two strips at a right angle, with their right sides facing each other, and sew at a 45 degree angle as seen here:

19) Cut off the excess seam using the Softgrip Pinking shears. I use a pinking shears here to minimize the thread unraveling.

20) Press the seam open on the reverse side.
21) Create a binding strip long enough to go around your quilt, plus about 10 inches extra. Fold this strip in half lengthwise and iron flat. Then stitch this onto the quilt, with the raw edges matching up as seen here:

22) Mitre the corner.
23) After the binding has been stitched onto the quilt completely, fold it onto the quilt back and hem into place.
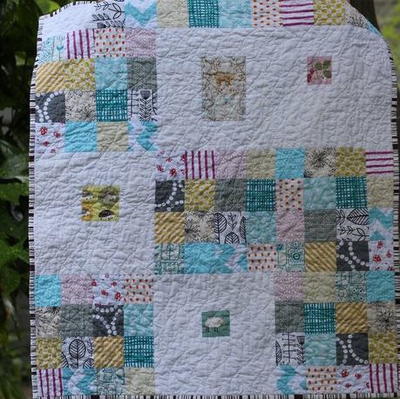
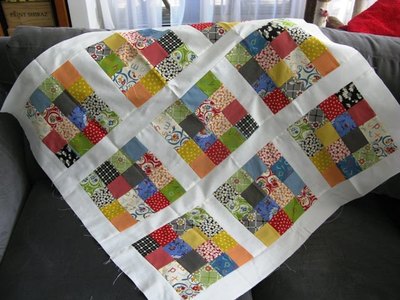
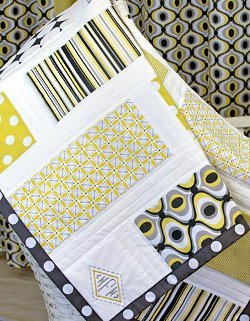
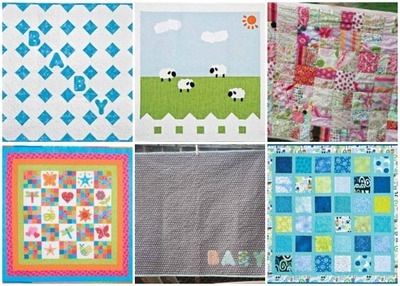
 Find more baby quilt patterns in this adorable collections of baby quilting ideas!
-
Easy Baby Quilt Patterns: 15 Surprising Baby Quilt Patterns
-
14 Easy Baby Quilt Patterns for Boys and Girls free printable collection and eBook
-
34 Free Baby Quilt Patterns
Read NextInto the Meadows Baby Quilt
Your Recently Viewed Projects

Thanks for your comment. Don't forget to share!
shilohdana
Apr 30, 2017
This is a nice variation of the traditional log cabin quilt and perfect for a baby quilt. The step by step instructions are great and easy to follow. It would really be fun to use some modern fabrics with a traditional pattern to mix it up. What a great idea for a baby gift!
Report Inappropriate Comment
Are you sure you would like to report this comment? It will be flagged for our moderators to take action.
Thank you for taking the time to improve the content on our site.